


Create a People Counter controlled by an Android app
November 29, 2017


Navigation Bar
Apply Theme
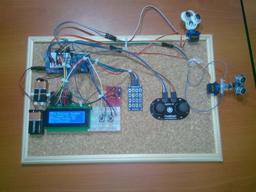
Make a people counter that detects the number of people who enter the room using lasers and LDRs and control it with an Android app.
Keywords
Hardware
- Arduino Uno[1]
- HC-06 Bluetooth Module[1]
- Breadboard[1]
- LDR[3]
- Laser Module[3]
- Buzzer [1]
- RGB Led Module[1]
- Led [3]
- Resistor 1k ohm [3]
- Resistor 220 ohm [3]
- Battery [1]
- Jumper Wires [1]
Software
Description
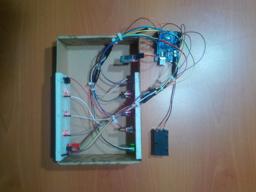
First of all, the people counter is a device which detects the number of people traversing an entrance. I had thought that making a people counter to secure my room when I had to go a vacation for two weeks. Also, I wanted to use the people counter as an alarm that warns people who do not have the permission to enter the room. A laser is the best option to count something accurately with an LDR because of its nature of speed so I decided to use lasers with LDRs for the counting jobs. There is three possible entrance in my room (two doors and one window) so I used three lasers and three LDRs. However, I realized that I need to control remotely the device if I want to choose between the which entrance's laser is open or whether the alarm is on or not. So that I added an HC-06 Bluetooth module to communicate to the device with an Android app I created. Moreover, the Android app displays the number of people who enter the whichever entrance you want to observe.


Creating an app
There are a lot of different ways to create an android app such as converting codes from HTML to Java or programming the app with Python. However, the MIT App Inventor is the easiest way because of its structure of drag and drop when you want to make an android app but do not forget that it has not been compatible with the iOS yet.
People Counter! is the name of the app and it includes two screens named Screen1 and Screen2.

Screen-1

It is the home screen to continue to the main screen but firstly, the password which is set in the MIT App Inventor must be entered correctly. (The default password that I set is "counter".)


Screen-2

It is the main screen and the menu to control Arduino board and the result of the people counter which is sent by Arduino is displayed on this screen.
You can choose, which laser is on or whether the alarm is open or not, on this screen furthermore you can see the result of the people counter and set it to start from zero.


How to make a people counter using lasers and LDRs
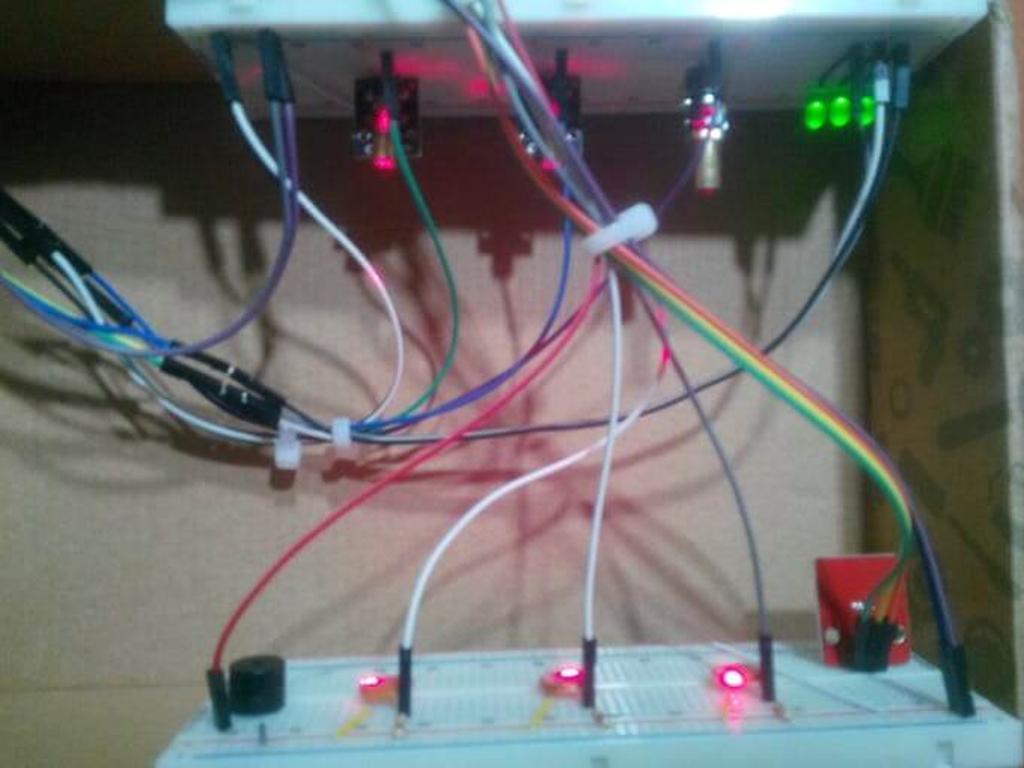
A laser (light amplification by stimulated emission of radiation) is a device which sends the package of the light through the very straight line to the target basically. And an LDR (light-dependent resistor) can easily detect the increase in the intensity of the light if the laser is pointed directly to itself. When there is an obstacle between the laser and the LDR, the LDR detects a decrease in the intensity of the light. So, if you could count each decrease in the range of the optimum level, you would have a people counter. According to my experiment with the LDR, the range of the optimum level has to be between 150 and 350.


Connections
// Arduino Uno
//                                Laser_Module_1
// Pin 2  ------------------------
//                                Laser_Module_2
// Pin 3  ------------------------
//                                Laser_Module_3
// Pin 4  ------------------------
//                                Buzzer
// Pin 5  ------------------------
//                                HC-06 Bluetooth Module
// Pin 6  ------------------------TX
// Pin 7  ------------------------RX
//                                Control_Led_1
// Pin 8  ------------------------
//                                Control_Led_2
// Pin 12 ------------------------
//                                Control_Led_3
// Pin 13 ------------------------
//                                RGB_Module
// Pin 9  ------------------------R
// Pin 10 ------------------------G
// Pin 11 ------------------------B
//                                LDR_1
// AO ------------------------
//                                LDR_2
// A1 ------------------------
//                                LDR_3
// A2 ------------------------


Make sure that the lasers are towards the LDRs directly before finishing all parts' connections.
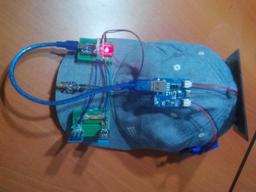
After I tested the device and record a test video, I divided the device into three parts for three different entrance. I have not had my doubts about the security of my room since I used them.
Videos
Project GitHub Repository
The project's GitHub repository provides:
- Code files
- Mobile application AIA and APK files (Android)
Schematics

Code
Custom assets
See on other platforms
Related projects

Mobile Water Level Tracker
View the water integrity and level of selected areas on your Android phone by using an HC-06 Bluetooth module to make an irrigation system.
Mobile Weather Station Being Powered by Solar Energy
Get the weather information through an Android app constantly and use the solar energy generated by the PV panel to charge devices.
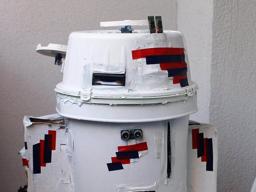
Make an Enhanced R2-D2 to Be Controlled by an Android App
Make an R2-D2 replica and control it by an app you programmed. Add a Nokia interface which gives you the Star Wars characters info.

Bluetooth Mobile Remote Lamp with Weather Station
Control your room lighting system and display weather information via specifically developed Android application and a uniquely designed PCB.
The Welcome Gadget
Make your room untouchable while you are not in it by using an Arduino and two HC-SR04 sensors.