


Jar Temperature Detector and Cooling Fan
December 29, 2018

Navigation Bar
Apply Theme
If the temperature measured by DS18B20 is above the predefined threshold, it turns the fan on automatically unless the piezodisk is pressed.
Keywords
Hardware
- [1]Arduino Nano
- [1]DS18B20 Waterproof Temperature Sensor
- [1]L9110 Fan Motor
- [1]Piezo Disk Sensor
- [1]Resistor 4.75k ohm
- [1]Resistor 1k ohm
- [2]Mini Breadboard
- [1]Male/Male Jumper Wires
- [1]Female/Male Jumper Wires
- [1]Hot Glue Gun
- [1]Soldering Iron
Software
Description
While measuring temperature produced by project structures I had built, I might need to act instantly to make it cooler to avoid any harm to the components attached to the structure. And therefore, I conceived a movable cooling fan design which can detect temperature in a long distance, running the fan if the measured temperature is above the predefined threshold. Also, I wanted to halt the process if an emergency occurs while monitoring the surrounding temperature in Celsius and Fahrenheit. To manage this project, I used an L9110 Fan Motor and a DS18B20 Waterproof Temperature Sensor, attached to Arduino Nano. For turning the fan on and off intentionally, I added a piezo disk sensor. After I finished the circuit, I decided to put all parts on a dilapidated jar and am now very happy for the outcome.

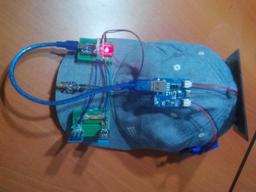
Preparing Components
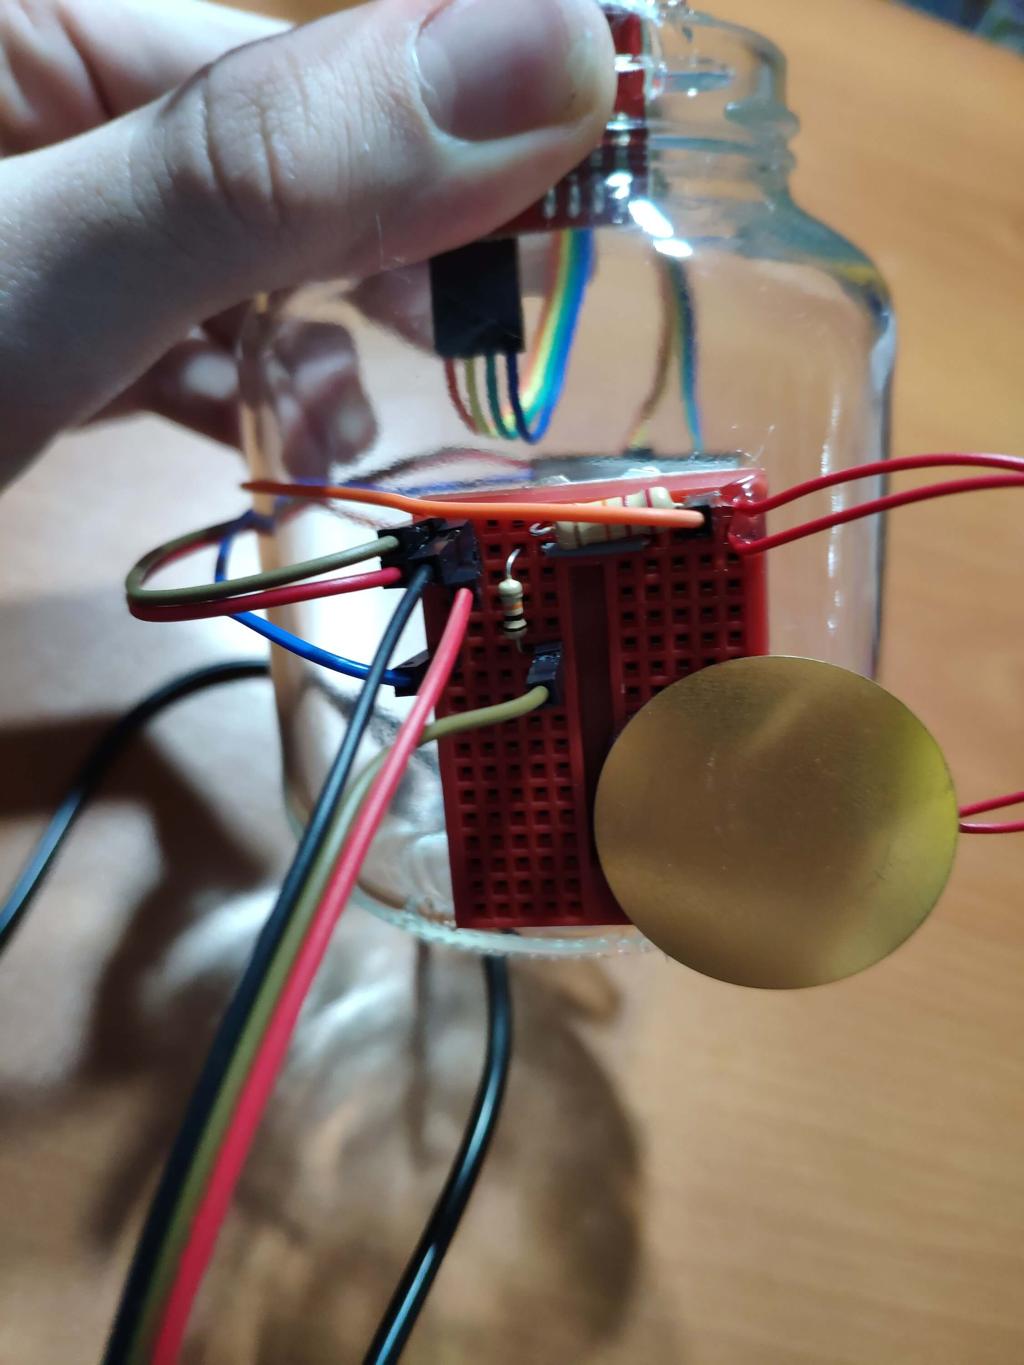
First of all, find an old jar and get resistors - 4.75 K and 1 K - for the piezo disk sensor and the DS18B20 Waterproof Temperature Sensor along with other components as depicted below.


Now, you need to attach three jumper wires to the DS18B20 legs - 5V, Signal, GND - to be able to connect it to mini breadboards by using a soldering iron.


How to use DS18B20 Waterproof Temperature Sensors
All DS18B20 Sensor has three legs and same connection requirements. Just connect the red wire to 5V, the black wire to GND and the yellow or blue wire to a digital pin.
And include these two libraries down below to get temperature in Celsius and Fahrenheit.
OneWire from here.
DallasTemperature from here.
Most importantly, add a 4.75 K resistor between the red wire and the signal wire(yellow or blue) to elicit accurate temperature values from DS18B20 sensors.
Connections
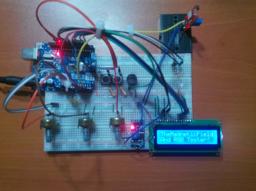
Arduino Nano connections and pinmapping are well-explained at the source code down below.
As depicted below, attach the analog pin 0 between 1 K resistor and the piezo disk sensor to read it.
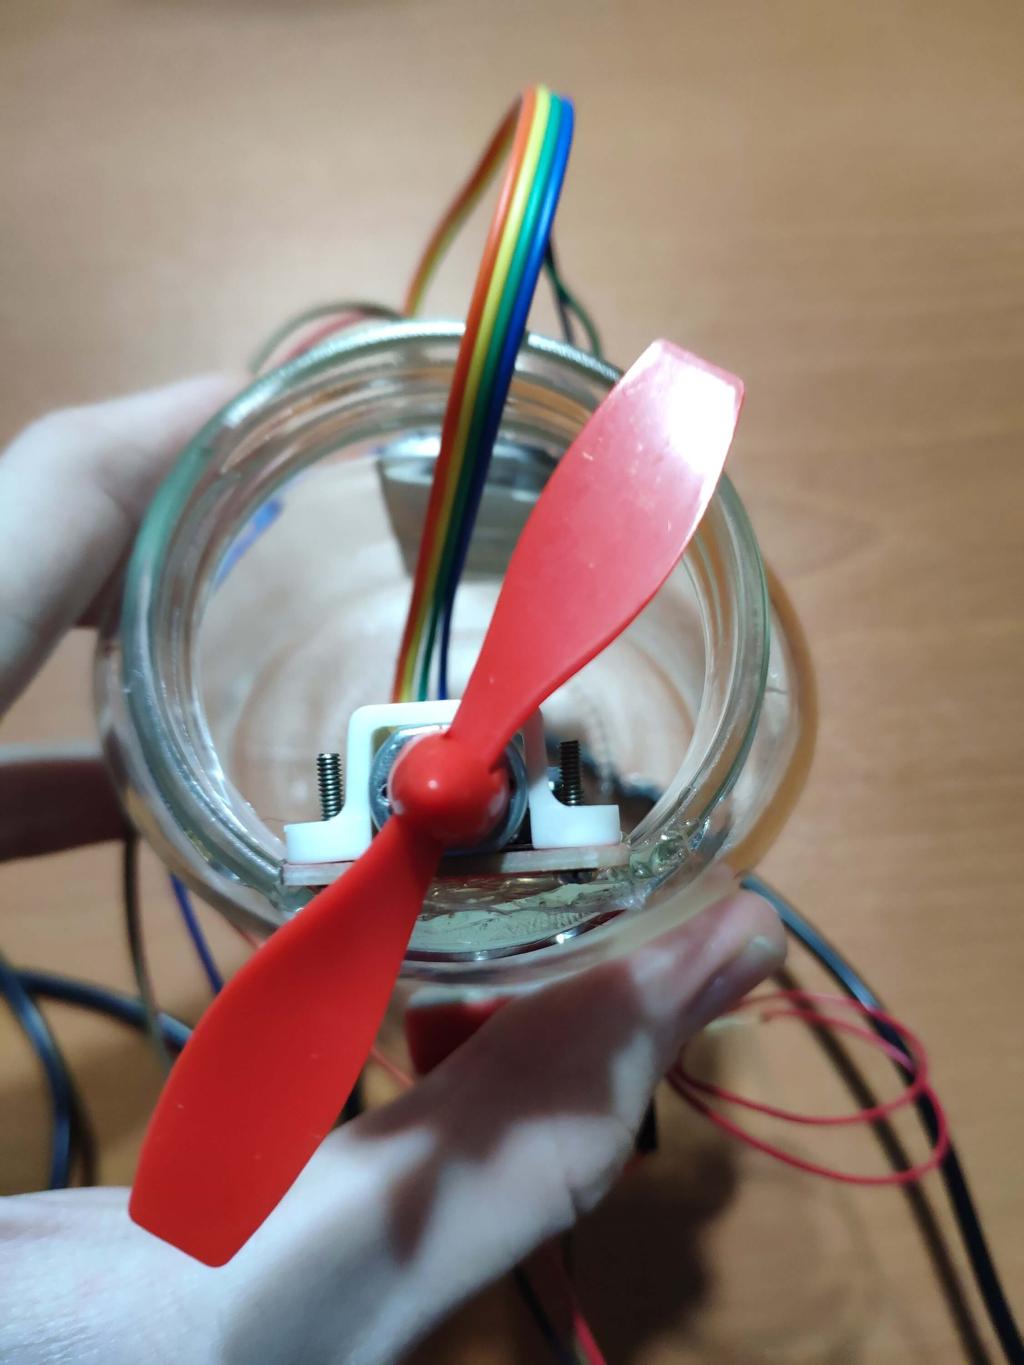
To control the L9110 Fan Motor rotation connect INA to the digital pin 3 and INB to the digital pin 4.


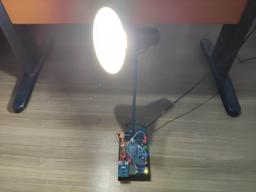
Putting Together All Parts
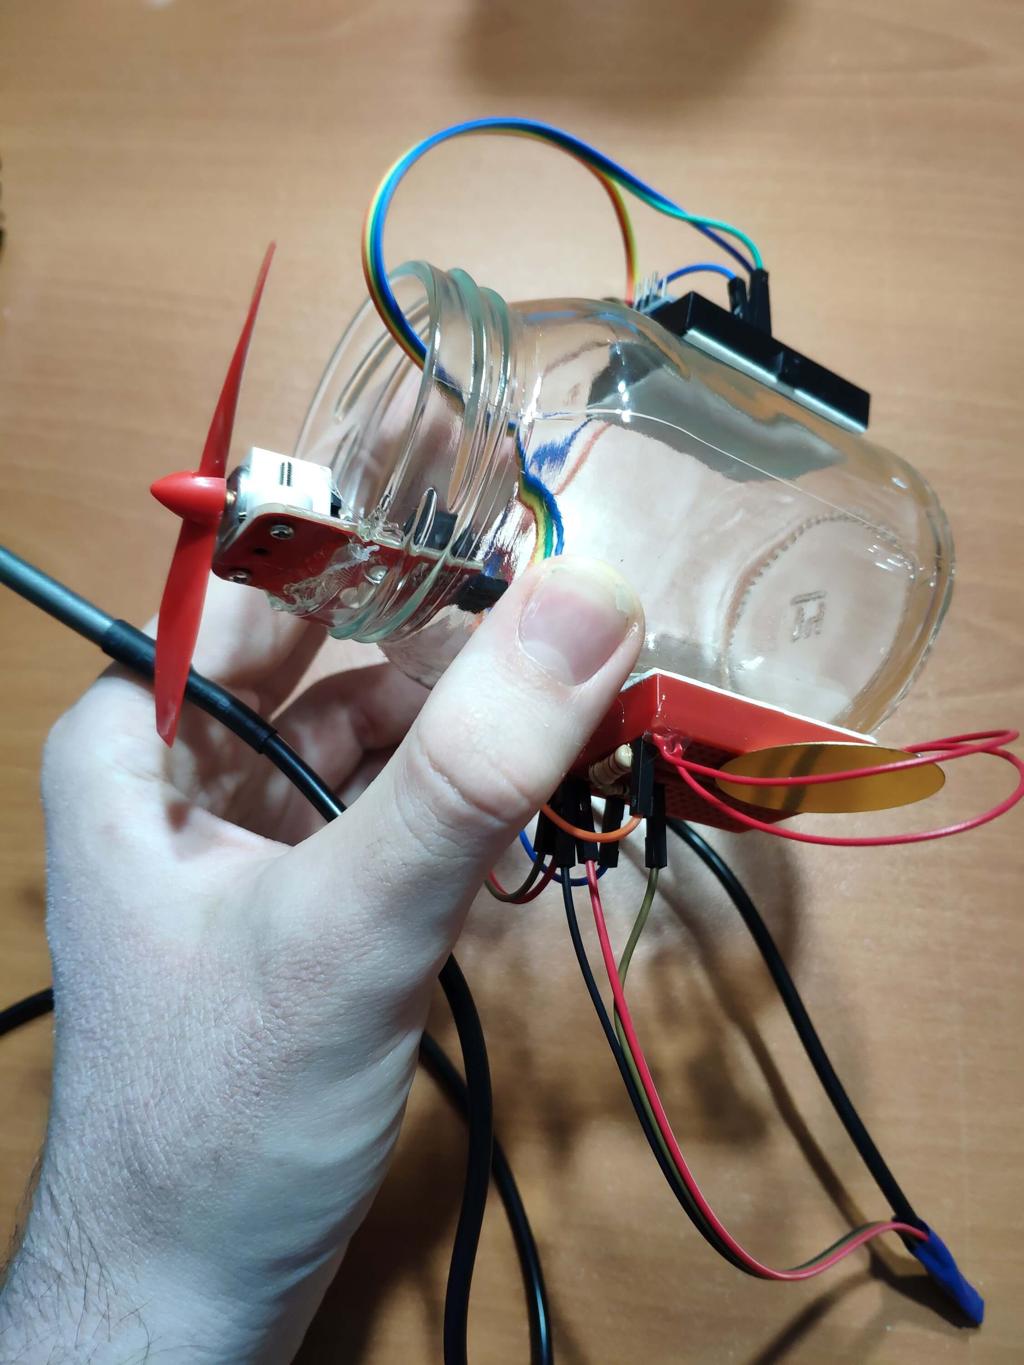
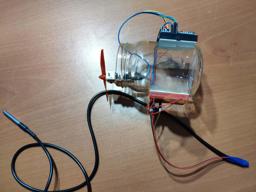
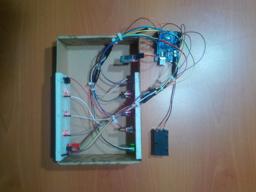
After making connections and uploading the source code to Arduino Nano, sturdier all connections by using a hot glue gun to place all parts on the old jar like this.


Features
1-) Monitor temperature values gathered by the DS18B20 Temperature Sensor in Celsius and Fahrenheit along with the piezo disk sensor reading on the serial monitor.


2-) In an emergency, turn the fan motor off by pressing the piezo disk sensor.

3-) Define a threshold value to activate the fan motor in this case above 25 Celsius. Also, you can define another threshold to change the direction of the fan as an indicator in this case above 80 Celsius.

Demonstration
Project GitHub Repository
The project's GitHub repository provides:
- Code files
Schematics

Code
Custom assets
Assets
See on other platforms
Related projects
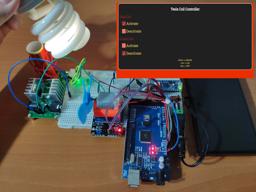
IoT Tesla Coil and Cooling Fan on the Localhost
Develop a web application in PHP and JavaScript to control a Tesla coil and a cooling fan via Arduino Nano 33 IoT. Get information from the Tesla Coil Controller without needing to click to a classic submit button.
RFID Desk Lamp
Supersede your old desk lamp with a new one controlled by an RFID tag or card and personalize it with an RGB color pattern to turn it off.
Mobile Weather Station Being Powered by Solar Energy
Get the weather information through an Android app constantly and use the solar energy generated by the PV panel to charge devices.
The Magnetic Field and RGB Tester
Observe the magnetic field integrity and polarity in the air with the 3144E Hall effect sensor. Also, adjust the RGB LED colours easily.
Create a People Counter controlled by an Android app
Make a people counter that detects the number of people who enter the room using lasers and LDRs and control it with an Android app.