


Remote Lamp
August 19, 2017
Navigation Bar
Apply Theme
How to make a lamp controlled by TV remote control.
Keywords
Hardware
- Arduino Mega 2560[1]
- Led[10]
- RGB[1]
- Breadboard[1]
- Mini Breadboard[1]
- 2-Way Relay[1]
- Flame Sensor[1]
- LCD Screen(16,2)[1]
- Light Bulb[2]
- DC Motor [2]
- Dual H-Bridge motor drivers L298N[1]
- 3-Way Gang Mains Socket[1]
- Resistor 220 ohm[13]
- IR receiver[1]
- 9V Battery[1]
- 9V Battery Clip[1]
Software
Obtaining Buttons Code
Use IRrecvDemo example file in IRremote library (https://github.com/z3t0/Arduino-IRremote) for getting your TV remote control push buttons IR codes. After that, you have to copy these codes to Remote Lamb.ino as #define 0xIRremote.

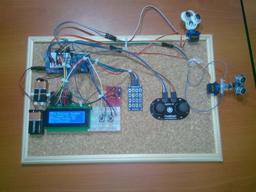
Connections
// Arduino
//                           RGB LED
// Pin 2                     1
// 5V                        2
// Pin 3                     3
// Pin 4                     4
//
//                           Flame Sensor
// Pin 22                    1
// 5V                        5V
// GND                       GND
//
//                           Potentiometer
// 5V                        1
//
// GND                       3
//
//                           LCD Display (16,2)
// GND                       1
// 5V                        2
//                           Potentiometer Analog Pin
// Pin 23                    rs
// GND                       6
// Pin 24                    en
// Pin 25                    D4
// Pin 26                    D5
// Pin 27                    D6
// Pin 28                    D7
// 5V
// GND
//
// Pin 22                    Flame LED
// Pin 29                    LED1
// Pin 30                    LED2
// Pin 31                    LED3
// Pin 32                    LED4
// Pin 33                    LED5
// Pin 34                    LED6
// Pin 35                    LED7
// Pin 36                    LED8
// Pin 37                    LED9
//
//                           L298N Motor Driver
// 12V                       9V Battery (+)
// GND                       9V Battery (-)
// Pin 38                    İNT1
// Pin 39                    İNT2
// Pin 40                    İNT3
// Pin 41                    İNT4
//
//                           2-Way Relay
// 5V                        5V
// Pin 42                    İNT1
// Pin 43                    İNT2
// GND                       GND
//
//                           IR Receiver Module
// Pin 44                    DO
// 5V                        5V
// GND                       GND
Orders
- If Button1 is pushed, LED1 opens and "LED1 is OPEN" command is activated.
- If Button2 is pushed, LED2 opens and "LED2 is OPEN" command is activated.
- If Button3 is pushed, LED3 opens and "LED3 is OPEN" command is activated.
- If Button4 is pushed, LED4 opens and "LED4 is OPEN" command is activated.
- If Button5 is pushed, LED5 opens and "LED5 is OPEN" command is activated.
- If Button6 is pushed, LED6 opens and "LED6 is OPEN" command is activated.
- If Button7 is pushed, LED7 opens and "LED7 is OPEN" command is activated.
- If Button8 is pushed, LED8 opens and "LED8 is OPEN" command is activated.
- If Button9 is pushed, LED9 opens and "LED9 is OPEN" command is activated.
- If ButtonA is pushed, RGB LED is red and "RED" command is activated.
- If ButtonB is pushed, RGB LED is green and "GREEN" command is activated.
- If ButtonC is pushed, RGB LED is yellow and "YELLOW" command is activated.
- If ButtonD is pushed, RGB LED is blue and "BLUE" command is activated.
- If Button0 is pushed, all LED is off.
- If Button+ is pushed, Light1 is open and "Light1 is OPEN" command is activated.
- If Button- is pushed, Light2 is open and "Light2 is OPEN" command is activated.
- If Buttonp+ is pushed, Light1 is off and "Light1 is OFF" command is activated.
- If Buttonp- is pushed, Light2 is off and "Light2 is OFF" command is activated.
- If Buttonup is pushed, DC Motor1 turns right.
- If Buttonright is pushed, DC Motor1 turns left.
- If Buttonleft is pushed, DC Motor2 turns right.
- If Buttondown is pushed, DC Motor2 left.
- If Buttonok is pushed, all DC motors are off.
- If the flame sensor detects a fire, "Temperature is HIGH" will be written on LCD display and flameled(LED10) will open.
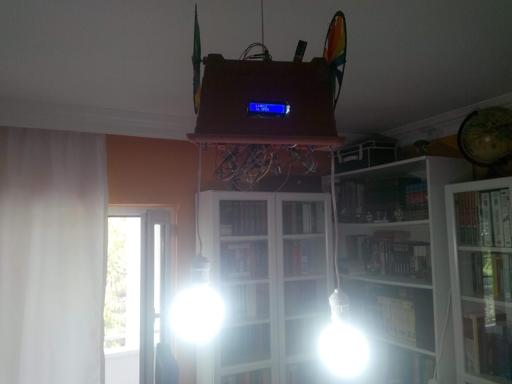
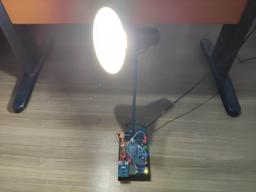
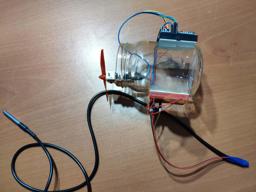
Making a Lamp from a Flowerpot
First of all, connect a wire to 3-way gang mains socket after that drill a hole for wire and glue 3-way socket to the bottom of the flowerpot.


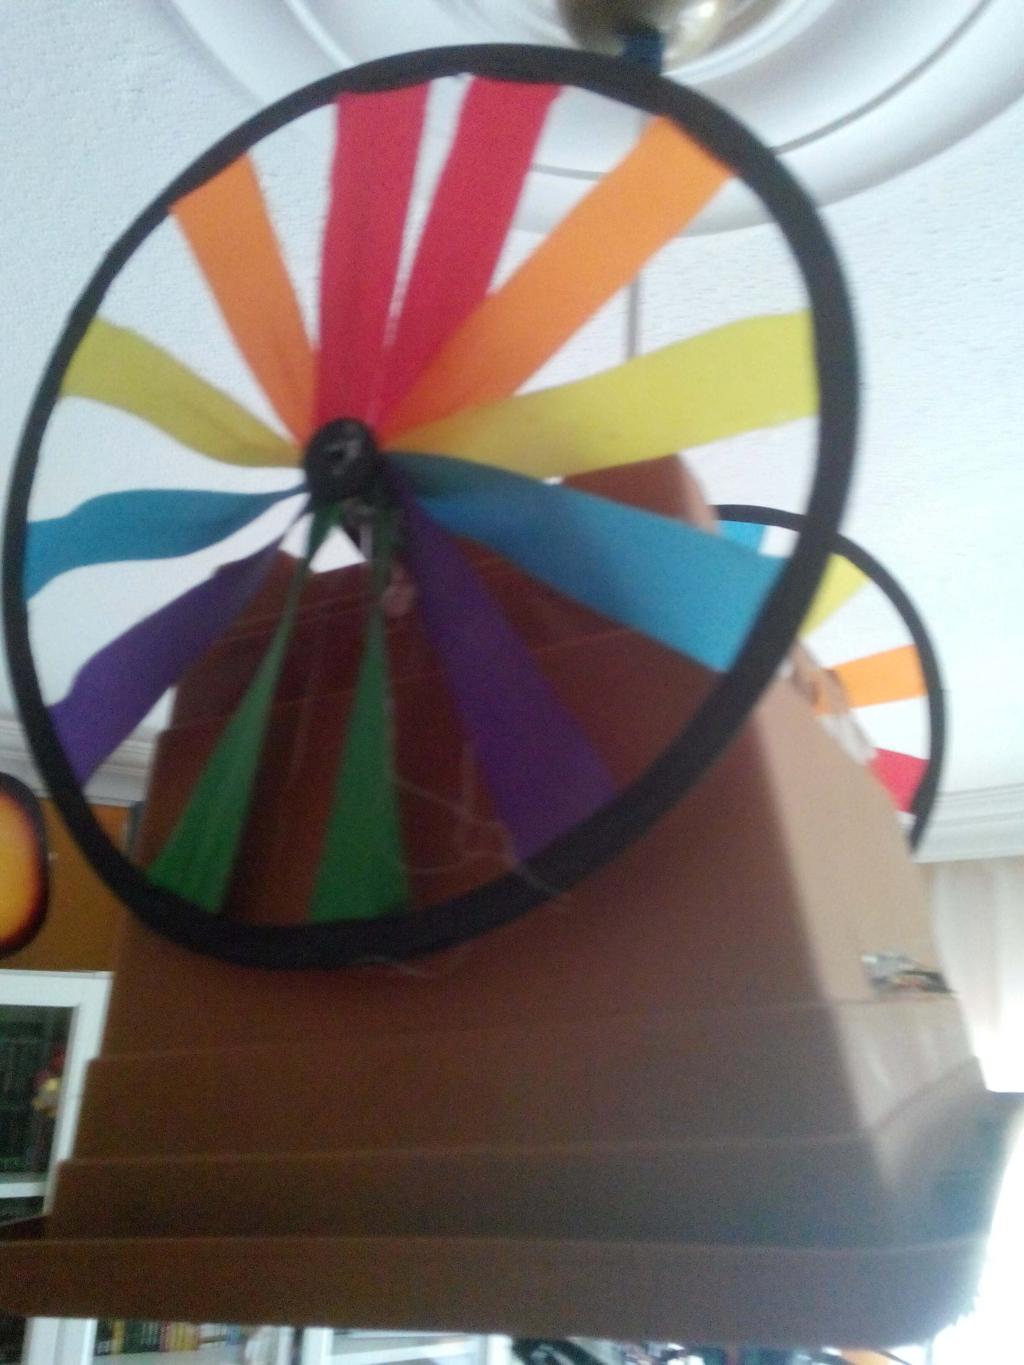
Solder the components to each other. Glue the DC motors to the top of the flowerpot with two turning wheels. Glue and solder all the other components to the inside of flowerpot.


Connect two bulbs and an android phone charger (for feeding Arduino Mega with USB output) to 3-way socket.

Connect Remote Lamp to the plug carefully when all steps are done.


Videos
Project GitHub Repository
The project's GitHub repository provides:
- Code files
Schematics

Code
See on other platforms
Related projects
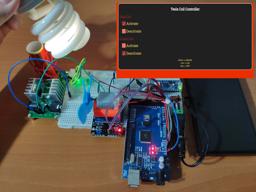
IoT Tesla Coil and Cooling Fan on the Localhost
Develop a web application in PHP and JavaScript to control a Tesla coil and a cooling fan via Arduino Nano 33 IoT. Get information from the Tesla Coil Controller without needing to click to a classic submit button.
RFID Desk Lamp
Supersede your old desk lamp with a new one controlled by an RFID tag or card and personalize it with an RGB color pattern to turn it off.
The Welcome Gadget
Make your room untouchable while you are not in it by using an Arduino and two HC-SR04 sensors.

Bluetooth Mobile Remote Lamp with Weather Station
Control your room lighting system and display weather information via specifically developed Android application and a uniquely designed PCB.
Jar Temperature Detector and Cooling Fan
If the temperature measured by DS18B20 is above the predefined threshold, it turns the fan on automatically unless the piezodisk is pressed.